How To
How to Partition Your External Hard Drive in Windows 7
What is Disk Partitioning
Disk Partitioning is actually the creation of one or more regions in the secondary storage, So that each region can be accessed and managed separately.
Almost all external hard drives comes already formatted and partitioned but you may need multiple partitions for your day-to-day activities, you may need to delete or shrink the existing structure of the hard drive. Disk management in Windows 7 makes that possible for you to do through. The following steps below helps you achieve this.
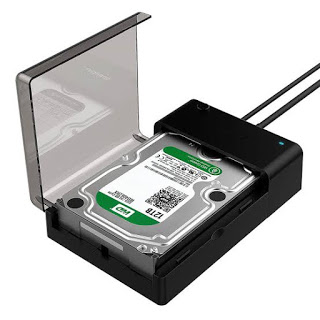
Step 1: Connect your external hard drive to your computer through the use of USB cable.
Step 2: Click on the “Start” button and type “diskmgmt.msc” and press Enter.

Another way to locate the disk management.
a. click the “Start” button
b. click on “Control Panel”
c. click on “System and Security” option
d. Click on “Create and format hard disk partitions” under Administrative tools.
Step 3: On the existing partition, right-click and select “Shrink Volume” if you have files on the disk and let Windows choose the maximum amount of shrinkage and select “Shrink” but if you don’t have any files on the disk you can select “Delete Volume” to remove the partition.
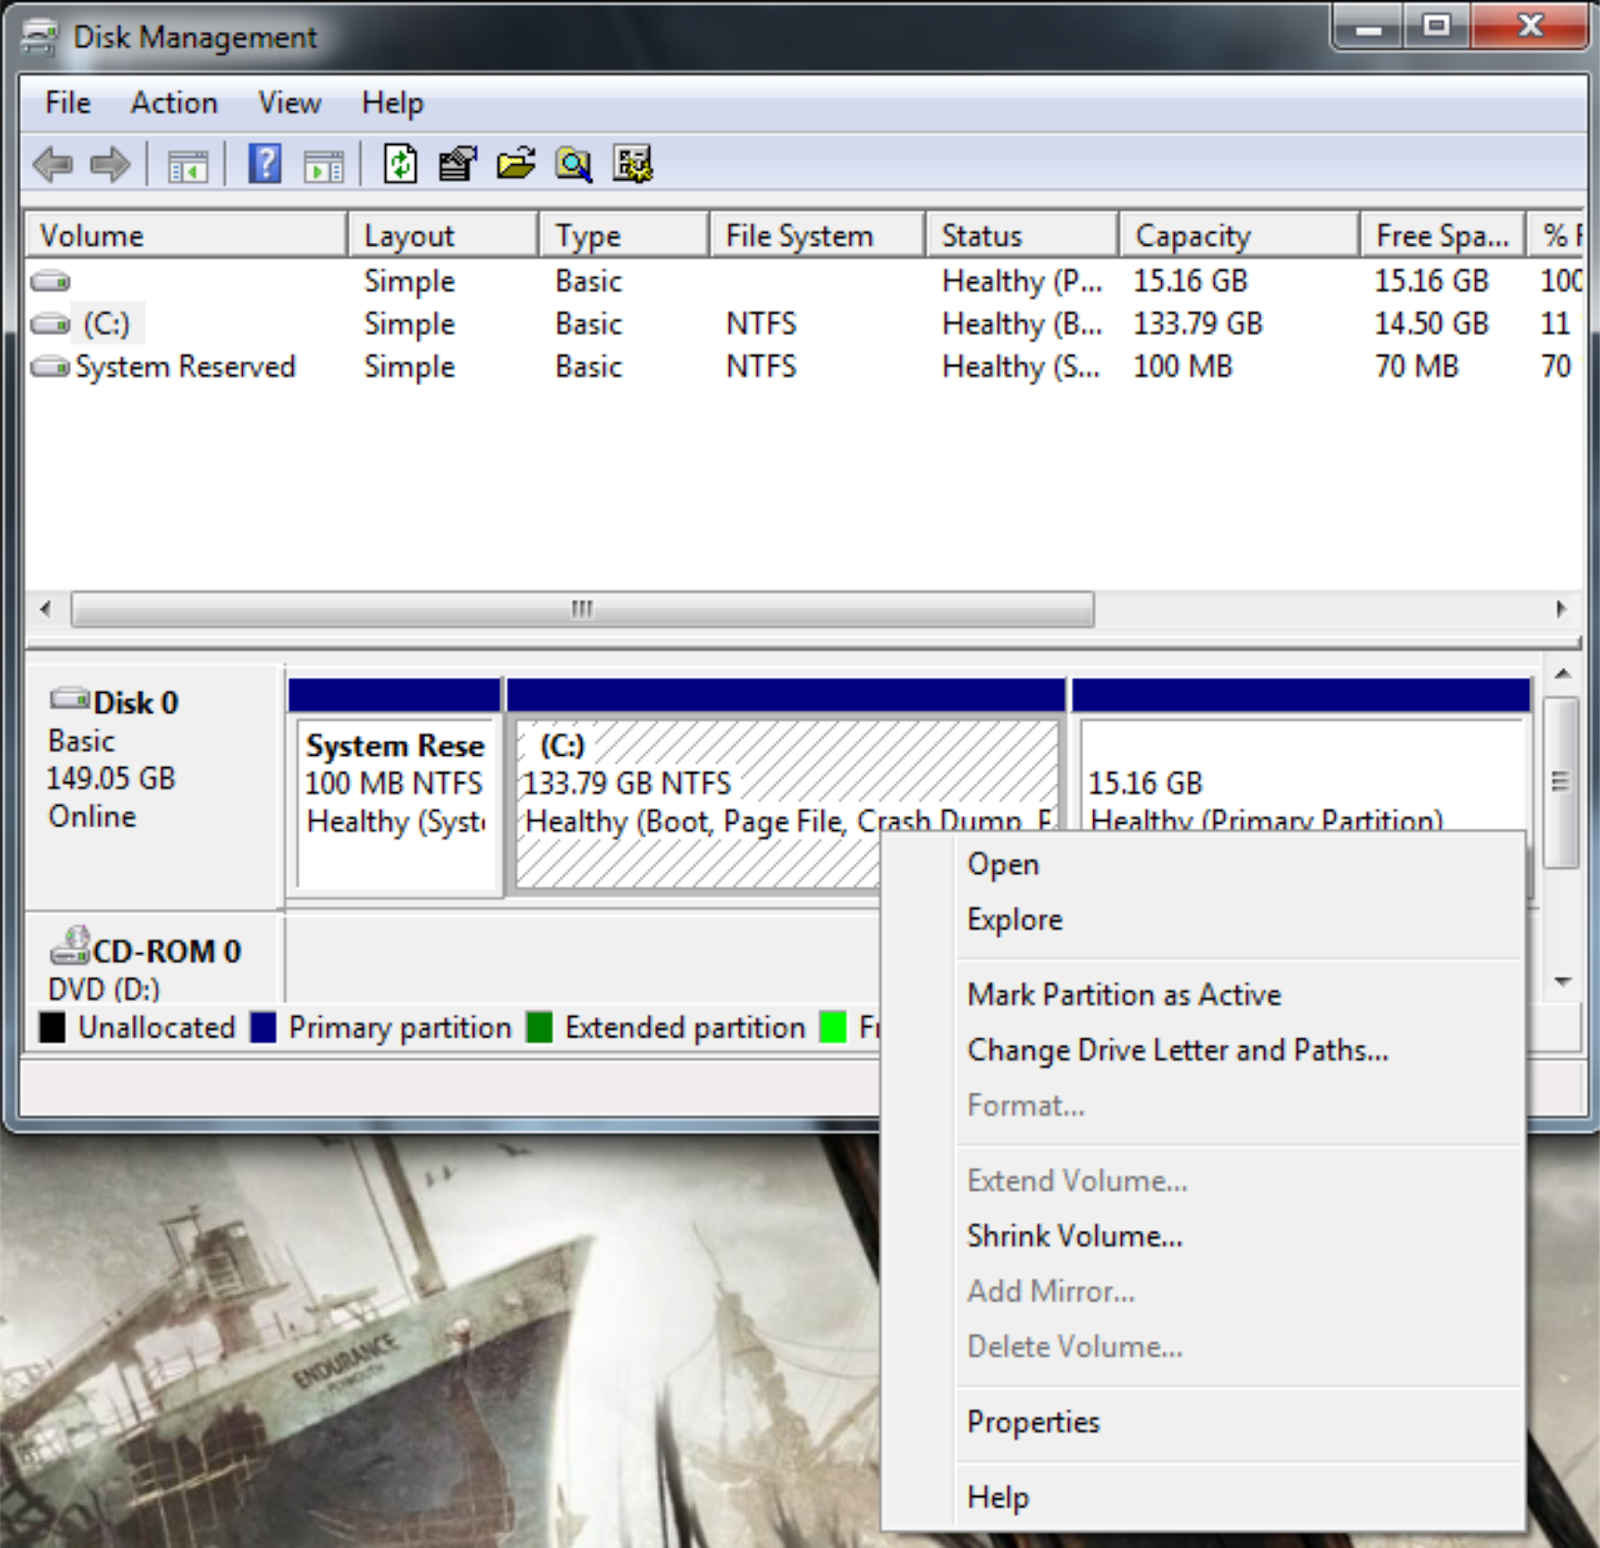
Step 4: On the Unallocated or Free Space of the external drive Right-click and select “New Simple Volume”.
Step 5: In the “Simple Volume Size in MB” field, Type in the size of the megabyte you desired. If you only want to create a single additional partition, click “Next” to use the default, maximum size. Converting gigabyte into megabyte, you have to multiply by 1,024, e.g 20GB X 1,024 = 20,240MB.
Step 6: Select “Next” to let Windows assign an available drive letter.
Step 7: Select the “File System” drop-down list and select “FAT32” or “NTFS”, then click “Next.”
Step 8: Select “Finish” to partition the drive.
Step 9: You can repeat the partitioning procedure to create additional partitions if required.


Business & Loans8 months ago
FG Presidential Conditional Grant Scheme Portal 2024 | Apply Now

Jobs & Scholarship8 months ago
Top 10 Easiest Countries To Migrate From Nigeria 2024
Jobs & Scholarship8 months ago
Nigeria Custom Service (NCS) Latest Recruitment 2024 – Application Portal

Jobs & Scholarship8 months ago
NDIC Latest Recruitment Application Portal 2024/2025 | www.ndic.gov.ng

Jobs & Scholarship8 months ago
FG Launches OTNI Job Creation Initiative To Provide 2,000 New Job Opportunities

Sports8 months ago
EPL Game Week 30 Full Fixtures And Predictions 2023/2024

Sports10 months ago
EPL Game Week 24 Full Fixtures And Predictions 2023/2024
Jobs & Scholarship10 months ago
NAF DSSC 32 2024 Latest Recruitment – Apply Now

-

 Tips2 years ago
Shiloh 2022 Programme Schedule – Theme, Date And Time For Winners Shiloh 2022
-
Business & Loans2 years ago
Dollar To Naira Today Black Market Rate 1st December 2022
-
Business & Loans2 years ago
SASSA Reveals Grant Payment Dates For December 2022
-
Jobs & Scholarship2 years ago
Latest Update On 2023 NPC Ad hoc Staff Recruitment Screening
-

 Business & Loans2 years ago
Npower Latest News On August Stipend For Today Friday 2nd December 2022
-
Business & Loans2 years ago
Dollar To Naira Today Black Market Rate 2nd December 2022
-

 Business & Loans2 years ago
Npower N-Tech Training: Npower Praises Female Trainees
-
Jobs & Scholarship2 years ago
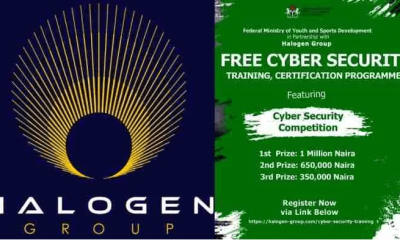
Latest Update On Halogen Cyber Security Competition 2023


Pingback: How to Defragment Your Computer Hard Drive - FlippStack | Tech Solution